My daughter and I found ourselves at home on a cold Sunday and wanted something “yum!” So my daughter asked if we could make some cookies. When do you ever say no to fresh-baked cookies? Like, seriously!
We flipped through my new cookie book that I bought myself for Christmas, and even though there are some cookies there that we will definitely be trying our hands at, it was one of my Pinterest pins that really got my attention. A recipe from “i heart eating” for Brownie Cookies popped up and I immediately started drooling. Sorry, TMI.
After checking the ingredient list, we had everything that we needed and we were off to the cookie races. But in true “me” fashion, I can never really follow ingredients lists or instructions 100%… I really try, but it just rarely happens.
The “proper” ingredients
- 12 ounces bittersweet chocolate chips (60-70% cacao)
- ½ cup butter
- 3 large eggs
- 1 cup granulated sugar
- ¼ cup brown sugar
- 1 tablespoon vanilla extract
- ½ teaspoon baking powder
- ½ teaspoon salt
- ¾ cups all-purpose flour
- ¼ cup unsweetened cocoa powder
- 1 cu pecans (chopped, optional)
- ½ cup mini semisweet chocolate chips
Melting chocolate
The “i heart eating” website (the link is at the end of this article) for this Brownie Cookie recipe starts by calling for melting 12 oz. of bittersweet chocolate chips, but I didn’t have that. And I don’t really like bittersweet chocolate. I prefer milk chocolate, and that’s all that I had in the house. So here’s where I started making my own variations – right off the bat. And in measuring the total amount of chocolate that this recipe requires, I quickly realized that I might be slightly short… Not having enough chocolate is not a good thing!
I looked through my cabinets. I had gotten rid of all of the chocolate from the holidays, except my daughter still had some candies left over that she was playing with in her toy kitchen. Time to improvise! So in the instructions here below I’ll give you what the recipe asks you to do, but I’ll then share how / what I changed.
What you’re going to do is:
The first thing you’re to do is melt the bittersweet chocolate and butter over low heat – you don’t want to have the heat too high because things can turn quickly! And you don’t want to burn the chocolate or butter. So when melting, just keep mixing until the chocolate-butter mixture is nice and melted – you’ll immediately see the desired texture that you’re after. But as I shared above, I didn’t have bittersweet chocolate and I don’t like it – but I had milk chocolate chocolate chips, and so that is what I used. But I didn’t quite have enough of them for the full recipe. So in the melted chocolate portion I added a couple mini Three Musketeer bars from my daughter’s collection. What could they hurt? Chocolate is chocolate, right?
After this is all melted, turn the stove off, and put the pan or pot that you melted the chocolate/butter in to the side.
In my KitchenAid mixer I beat the eggs, sugars, vanilla, baking powder and salt on high speed for 5 minutes – just like the recipe calls for. It was interesting to see what this does, but after the 5 minutes on high, the batter is kind of white and foamy-looking and is thick and creamy. That is the consistency that you’re after. The recipe says that “this step is key, so make sure to beat the mixture for the full 5 minutes.” So get your stop-watch out!
Next you lower the speed – I accidentally turned it off, but you just want to put the speed to low and that’s when you want to add the melted chocolate mixture. The color of the batter turns a light chocolate-y brown. Mix this well until it is all combined.
Next you’ll stir in the flour and cocoa powder until this too is well combined – but don’t over mix.
The recipe next says to add the nuts and mini chocolate chips. So I like nuts, but not in my baked goods. So I didn’t use nuts. I also didn’t have mini chocolate chips, but just the regular milk chocolate chips – and that’s what I added, and mixed into my batter. The recipe then says that “the batter should be the consistency of a thick brownie batter at this point.” But I actually found the batter to be a little “runnier” than brownie batter. But I didn’t add any more flour or anything – which I might under other circumstances do – and left the batter as it was and followed the instructions.
Your next step is to cover the batter and chill it for 30 mins. So I seran-wrapped the KitchenAid mixer bowl and put in in the fridge. I ended up leaving it in there for about 45 minutes.
I then preheated my oven to 350 F and put parchment paper onto my two cookie sheets.
I took the bowl out of the fridge and got out an over-sized spoon that I then scooped the batter out of the bowl. Now the consistency was more that of brownie batter. I scooped the batter out and placed on the cookie sheet – in almost circular cookie shapes and made sure that they weren’t too thick in the middle, but that they were pretty even in shape and thickness. I placed the cookie batter about 2 or 3 inches apart.
Next you’ll bake the cookies for about 8-10 minutes. Now, every oven is different and I have a love/hate relationship with mine. I was mindful of this step in the recipe because it says, “the cookie will look set at the edges but still be a little wet looking in the center. Don’t overbake, or the cookies won’t be crackly and fudgy.” So I was worried about overbaking, and I ended up slightly underbaking the first batch. But here is where your personal preference (and your oven’s heat settings) will play a part. If you like them gooey, then keep an eye on them and take them out early. If you want them a little more crusty-edge and not as gooey-a-center, let them stay a little longer. The instructions then specify that as the cookies cool you’ll get more of a shiny and crackly crust.
As mentioned above, my first batch was a little too goey and so it was challenging to transfer them from the cookie sheet to the cooling rack. With that knowledge I baked the second and third batches a little longer, left them on the cookie sheet for a few minutes to cool and then transferred them to the cooling rack.
While they cool on the cooling rack, get your glass of milk out and enjoy!
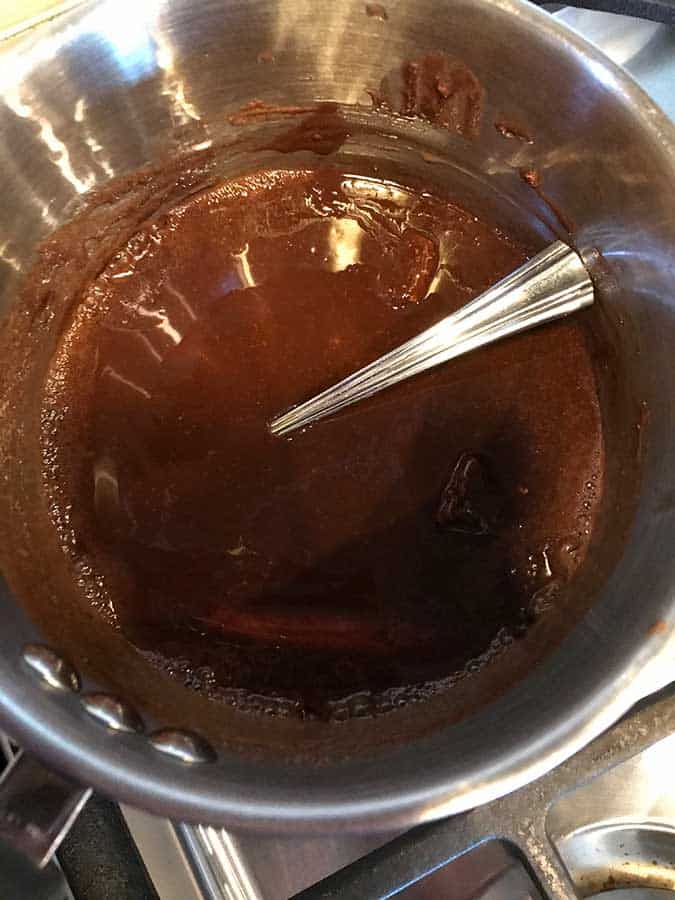
Melt the chocolate and butter together in a pot or pan – you’ll know the desired texture when you see it.
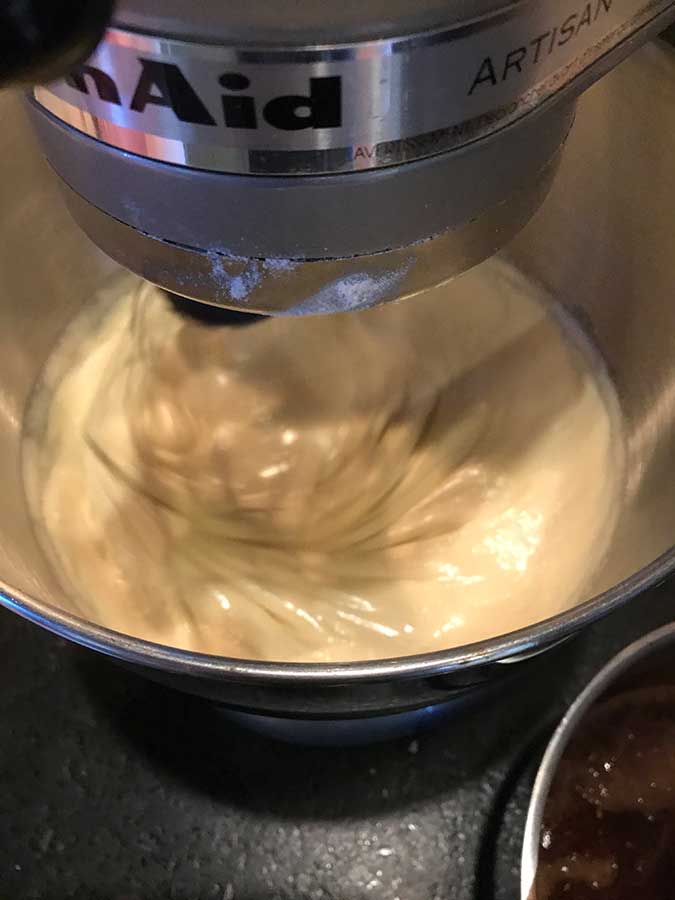
In your stand mixer you’ll mix on high for 5 minutes until you get a thick and fluffy texture
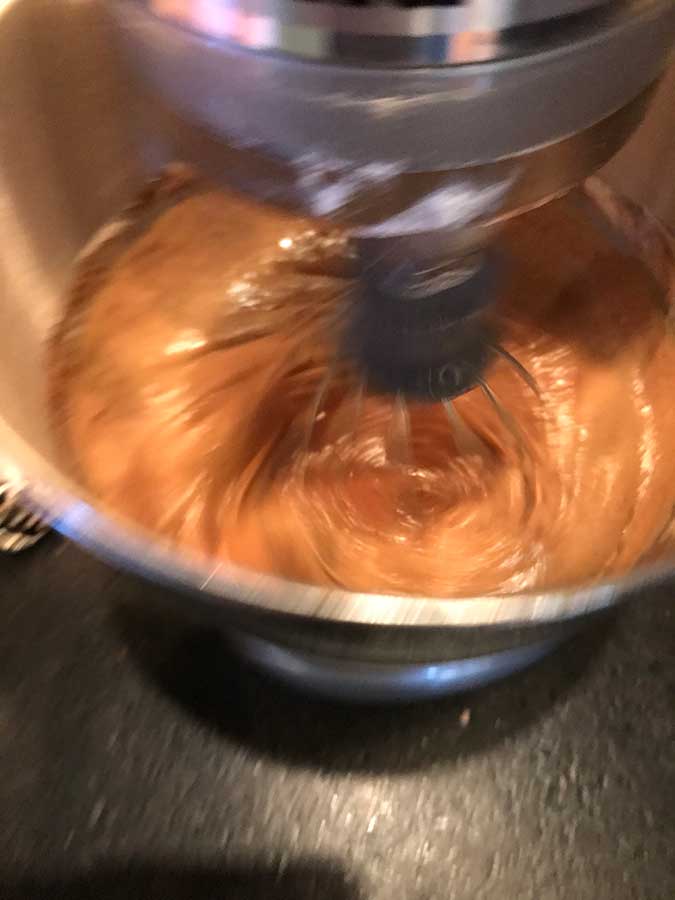
Add the melted chocolate/butter mixture
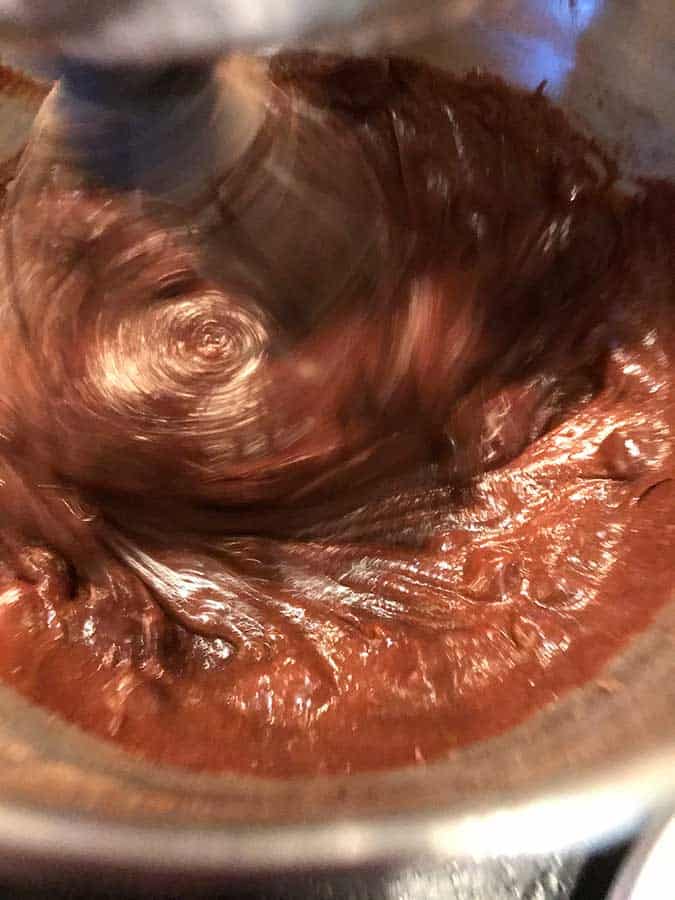
Add the flour and cocoa powder
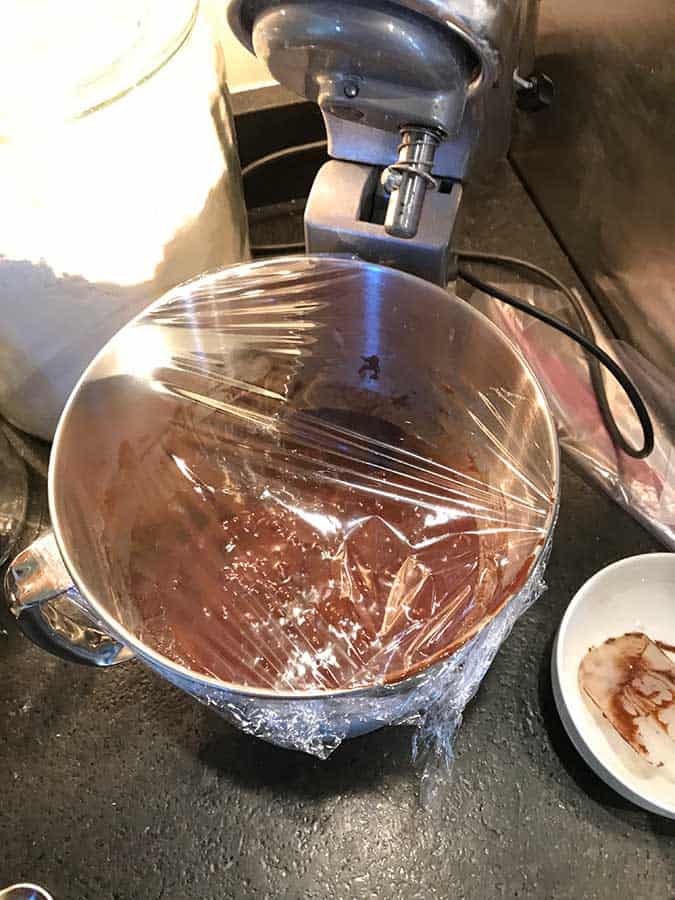
Cover the bowl and cool for 30 minutes
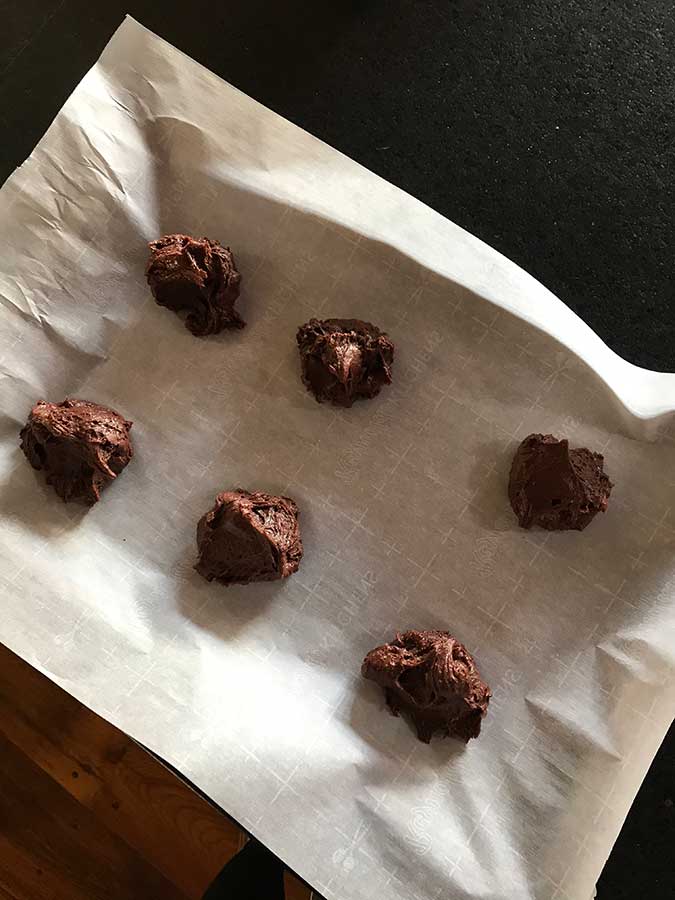
Scoop and place the batter on the cookie sheets
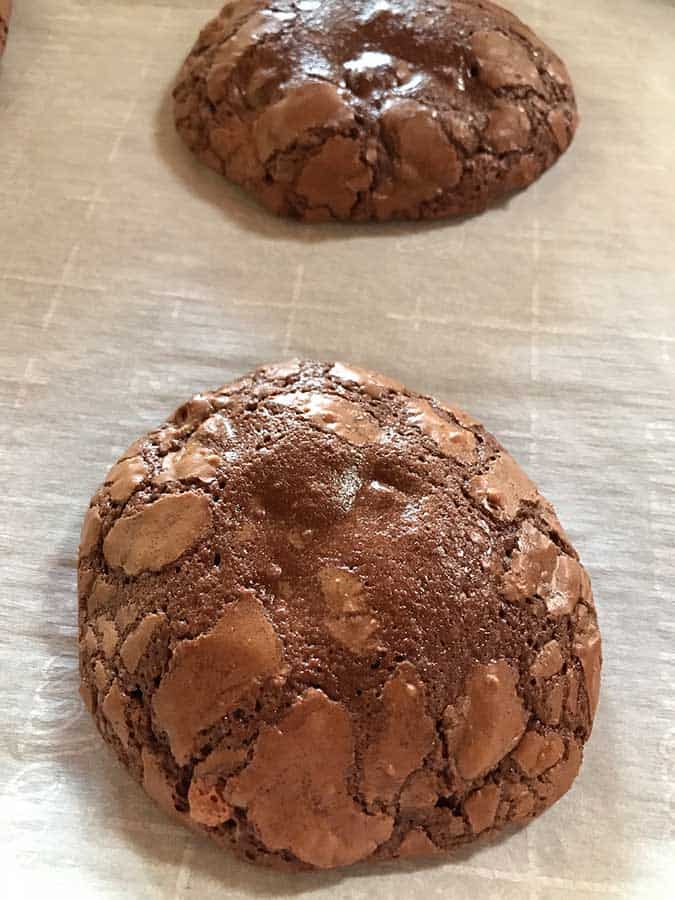
Bake for 8-10 minutes, keep an eye on how gooey you want the cookies before taking them out. This first batch of mine was too gooey in the center.
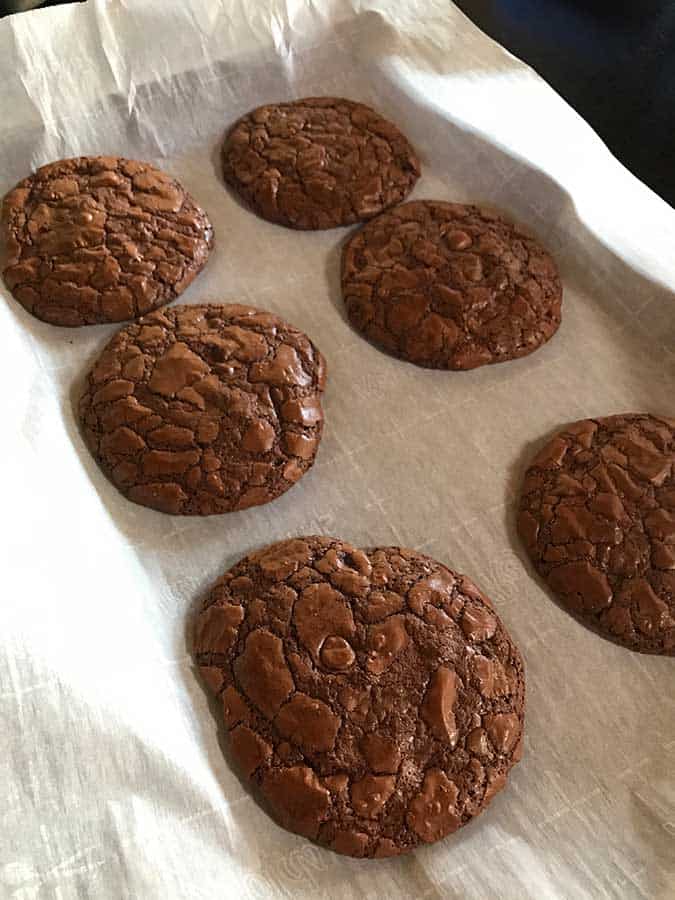
My second batch was a little more baked and had more crunchy edges, which I personally love.
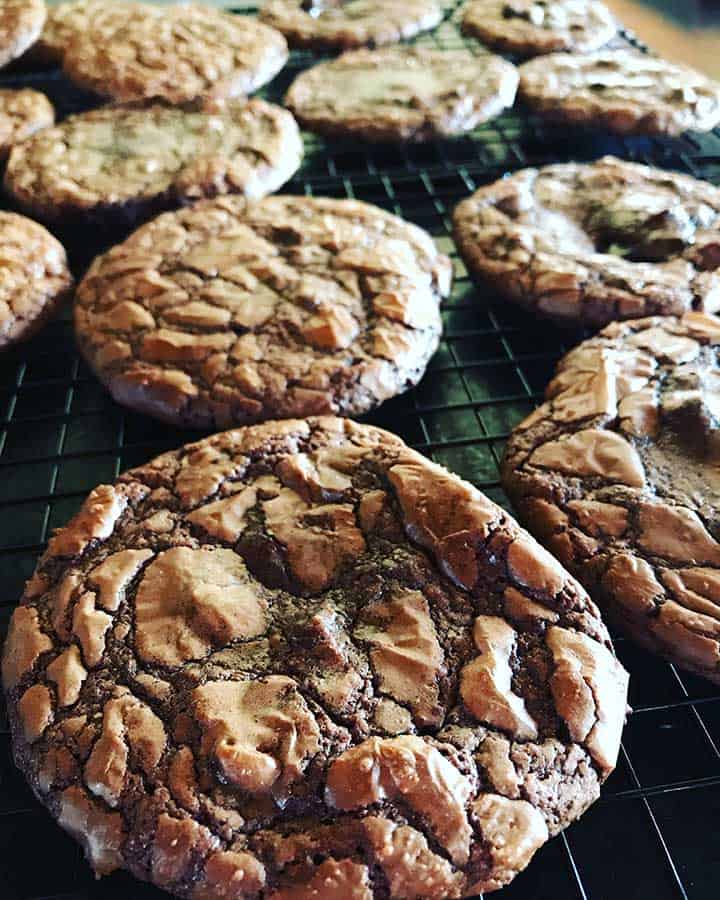
The cookies will have a crusty and gooey-look and feel to them.
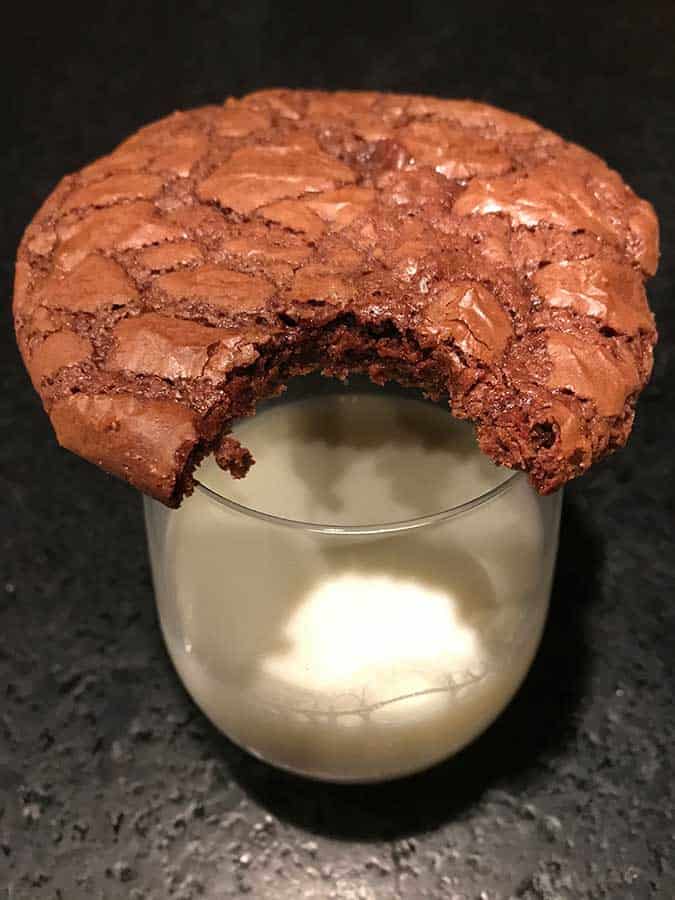
These cookies are PERFECT with a glass of milk!