Although biscuits usually make their biggest splash in November, I personally enjoy them all year round – warm weather or cool weather, breakfast or dinner. I am always on board with biscuits. I think it is even fair to say that I am biscuit obsessed, as I am always trying to up my biscuit game in an effort to make the tallest, fluffiest, tenderest and most butter-y-rich biscuits around. Over the years, I have perfected my recipe, calling for a few different ingredients or combination of ingredients that really elevate my biscuits and get ready because I am going to share all my secrets. Consider yourself warned.
Flour, leavening, and salt
First there is the choice of flour when biscuit-making. Most recipes call for all-purpose flour, but a bit of internet/cookbook research reveals that if you want a really tender biscuit (and, I mean, who doesn’t want that?) then you must add a bit of cake flour as well. Though, of course, if you only have all-purpose lying around, you can use all all-purpose and I promise not to give you a hard time about that.
Next is the amount of leavening to use. I go “extra,” as they say (or, maybe just I say…) when it comes to leavening and call for over a tablespoon of baking powder, as well as some baking soda. From experience, in a good way, I have learned that being a bit heavy-handed with the leavening results in the tallest of the tall biscuits – and that is my kind of biscuit (a tall one…). As for salt, I also go a bit heavy-handed in this department because I am a saltaholic and really do believe (and it happens to be true) that salt makes everything taste better (it is a flavor enhancer after all).
Fat, liquids, and assembly
Next there is the question of what fat to use when biscuit making: butter or cream. Butter makes for a more traditional biscuit, but cream makes for a wonderfully rich biscuit – with the added benefit avoiding the ordeal that is making sure your butter is cold, and then chopping it into little pieces, and then maybe putting it back in the fridge to get it cold again, etc. etc. But because I love both butter biscuits AND cream ones, I call for some of each in my recipe – and the flavor is 100% worth it, I promise.
And finally, in terms of the age-old question of what liquid to add to your biscuit dough (be it milk, cream, or buttermilk) I am definitely team buttermilk – just sayin’. Buttermilk adds a flavor and tenderness that cannot be beat and because I always have it in my fridge, it is a no brainer for me. However, if you do not have any on-hand and have no interest in running to the store and getting some, no worries. You can substitute whole milk or extra cream.
As for biscuit assembly, I like to use a food processer up until I add the liquid ingredients (the buttermilk and cream) and then I switch to a large mixing bowl and a wooden spoon (in other words, I go old school). I like to knead my biscuit dough only a bit and when I pat my dough into a rectangle, I make sure it is at least 1 1/2 inches high, as tall is my thing, as I have now mentioned too many times to count.
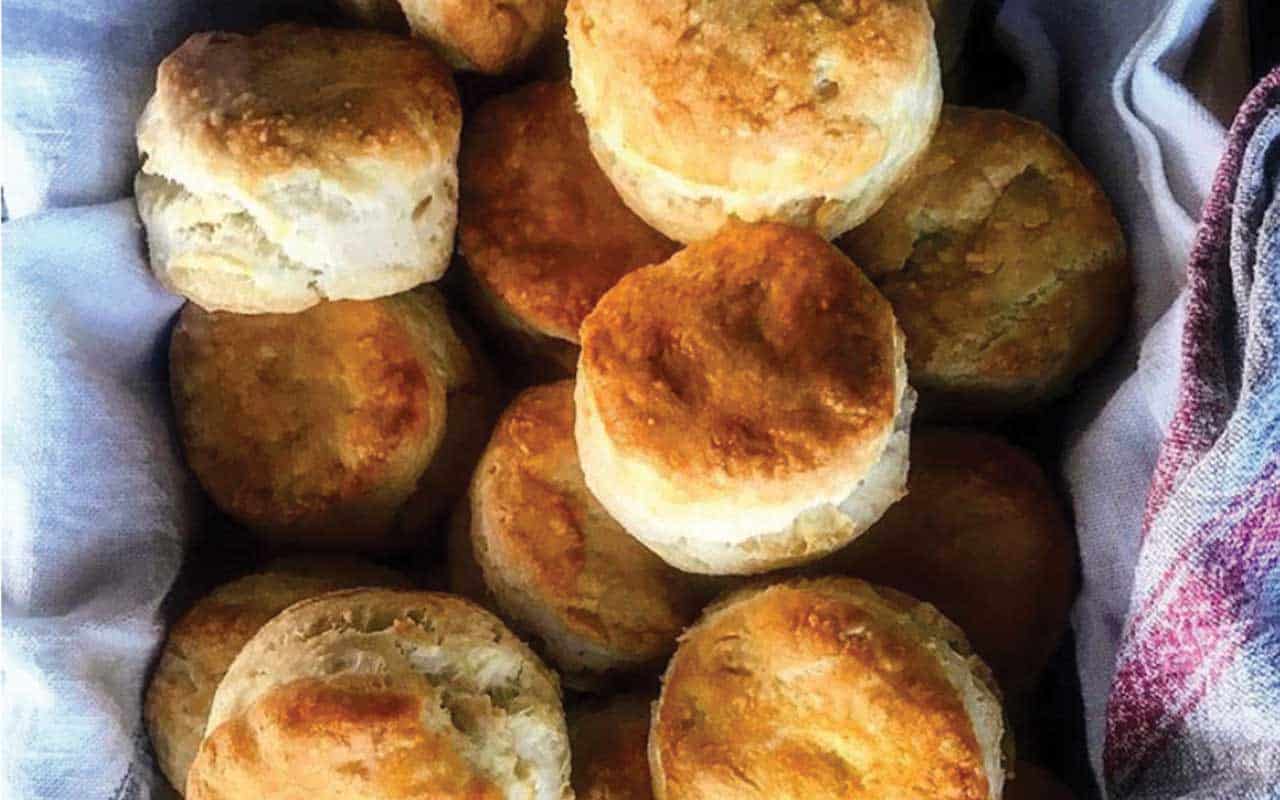
I like to place my cut biscuits in a pan with sides, so that each biscuit touches another (this helps them rise while baking) and I like to freeze them before sticking them in the oven, as this helps to prevent spreading (I’m against squat biscuits). Finally, I like to egg wash my biscuits so they have glossy, bronzed lids by the time they are done baking.
These are my tips, folks, and if you’ve made it here to the end, then you have learned a lot about biscuit making. Here’s to hoping these cuties live up to all the hype.
Ingredients and instructions
2 2/3 cups all-purpose flour
1 1/3 cups cake flour
4 teaspoons baking powder
1⁄4 teaspoon baking soda
1 teaspoon kosher salt
1 cup unsalted butter, chilled
1 cup buttermilk
6 tablespoons heavy cream
For the egg wash:
1 egg
pinch of kosher salt
- Grease a 13-by-9-by-2-in pan with non-stick cooking spray or softened butter. Line the bottom with parchment paper.
- Add the all-purpose flour, cake flour, baking powder, baking soda, and salt to the bowl of a food processor fitted with the metal blade. Cut the butter into small cubes, add to the bowl, and pulse until the mixture resembles coarse meal.
- Transfer the mixture to a large bowl. Add the buttermilk and cream and, using a wooden spoon or your hands, combine the wet into the dry until a shaggy dough forms.
- Lightly flour a work surface and knead the dough a few times until it is no longer crumbly and the dry and moist bits are fully integrated. If the dough is at all sticky, lightly flour your work surface again. Gently pat or roll the dough into a rectangle at least 1 1⁄2-inches thick to ensure a tall biscuit.
- Using a 3-inch biscuit cutter dipped in flour, begin cutting out biscuits from the dough rectangle and place in the prepared pan so they are touching. You will not fill the whole pan. Collect the scraps and re-roll and cut as needed, although these ones made from scraps will not be as flaky and tender.
- Freeze the biscuits, tightly wrapped in plastic wrap, for at least 2 hours or, preferably, overnight. The unbaked biscuits can be frozen for up to a week.
- Preheat the oven to 425°F.
- To make the egg wash, combine the egg and salt and brush the wash on the tops of the frozen biscuits. Bake for 5 minutes, decrease the heat to 400°F and bake for about 15-20 minutes more, rotating the pan halfway through baking.
- The biscuits are ready when they are golden brown on top and lightly browned on the bottom. Let the biscuits sit a minute or two in the pan until they are easy to handle.
Biscuits are best eaten the day they are made, but can be stored, tightly wrapped in plastic wrap, on the counter for up to three days. To reheat, wrap them in aluminum foil and warm in a 350°F oven for 15 to 20 minutes. •
Jessie is a baker and cookbook author; you can learn more about her through her website jessiesheehanbakes.com.